How Data Normalization Keeps Your Unified API Consistent Across Platforms
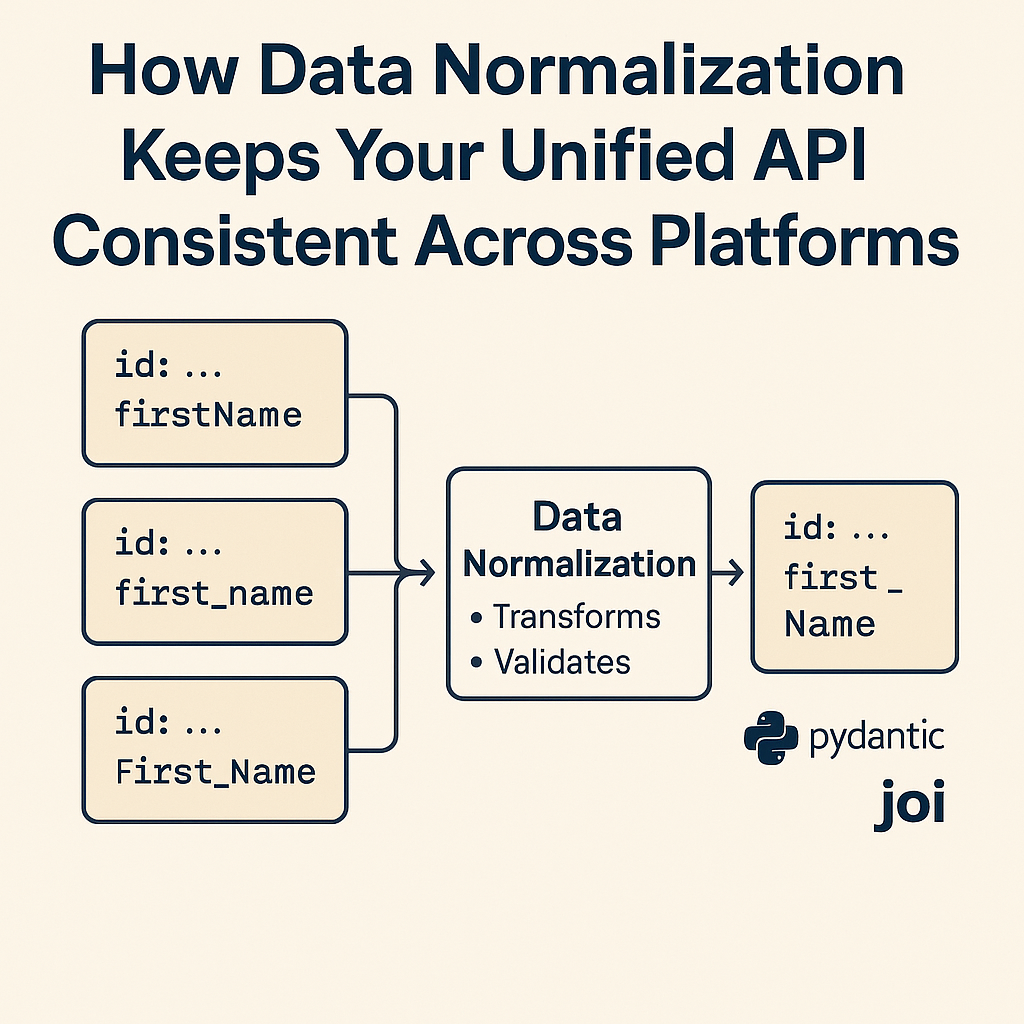
When you build a unified API, one of the biggest challenges is that every external system speaks a different language. Some use first_name, others use FirstName or fname. Some return timestamps in UTC, others use local time. Some APIs include nested objects while others flatten everything.
Without a clear structure, your unified API quickly turns inconsistent and difficult to maintain.
Data normalization solves this problem. It gives your API one predictable format that always looks the same, no matter where the data came from. This makes your unified API easier to build, easier to test, and far more reliable.
If you have not read it yet, start with How to Build a Scalable Unified API Layer for Your SaaS. That article explains the full architecture. This one goes deeper into the normalization layer, which is what keeps the entire system consistent.
What Data Normalization Means
Data normalization means cleaning and standardizing data from multiple APIs so your system outputs a single, consistent structure.
It does not change what the data means. It only ensures that all fields have the same names, formats, and types.
In a unified API, normalization sits in the middle. It takes raw, unstructured vendor responses and converts them into the shape your API promises to return.
Why It Matters in a Unified API
The whole point of a unified API is that clients only have to integrate once. If you return different field names or formats depending on the vendor, that benefit disappears.
Normalization gives you:
- Consistency – Every connector produces data in the same format.
- Simplicity – Developers only learn one schema instead of many.
- Reliability – Field types and formats are always predictable.
- Testability – You can test one data model instead of many vendor-specific ones.
- Scalability – Adding new vendors only requires writing a mapping file, not rewriting your logic.
The Problem Before Normalization
Imagine you connect to three CRMs: Salesforce, HubSpot, and Zoho. Each returns a customer differently.
| Vendor | Example Field | Meaning |
|---|---|---|
| Salesforce | FirstName | Customer’s first name |
| HubSpot | firstname | Customer’s first name |
| Zoho | First_Name | Customer’s first name |
If you do not normalize, your code will need if statements everywhere to handle each vendor.
Normalization fixes that by producing one shared format:
{
  "id": "123",
  "first_name": "John",
  "last_name": "Doe",
  "email": "john@example.com",
  "created_at": "2024-06-12T10:00:00Z"
}
ASCII Diagram: How Normalization Works
         +-----------------------+
         | Vendor A (CRM)        |
         | { "FirstName": ... }  |
         +-----------+-----------+
                     |
         +-----------v-----------+
         | Vendor B (HRIS)       |
         | { "first_name": ... } |
         +-----------+-----------+
                     |
         +-----------v-----------+
         | Vendor C (Accounting) |
         | { "First_Name": ... } |
         +-----------+-----------+
                     |
                     v
           +-----------------------+
           | Normalization Layer   |
           | - Field mapping       |
           | - Type conversion     |
           | - Validation          |
           +-----------+-----------+
                     |
                     v
           +-----------------------+
           | Unified API Response  |
           | { "first_name": ... } |
           +-----------------------+
This layer ensures that every vendor’s data becomes identical before it leaves your API.
How Normalization Helps with Testing
One of the biggest benefits of normalization is that it makes your system easier to test.
When every vendor’s data is transformed into the same format, you can:
- Write one set of unit tests for your normalized schema.
- Use the same mock data for all connectors.
- Validate correctness with automated schema checks.
- Add new connectors without changing your test cases.
Instead of maintaining hundreds of vendor-specific test files, you only need to verify that each connector produces the normalized output. This cuts testing time dramatically and makes your QA process more predictable.
Step-by-Step Process
- Define a Standard Schema
Start by describing how the data should look once normalized. Example:{ "id": "string", "first_name": "string", "last_name": "string", "email": "string", "created_at": "ISO8601 string" } - Collect Raw Vendor Data
Each connector pulls data from its API and passes it to the normalization layer. - Map Fields
Create a mapping that translates vendor fields to the normalized schema. - Validate Data
Use a schema validation library to ensure all fields exist and have the correct type. - Return Normalized Output
Once validated, return the data to the client or store it in your database.
Example in Node.js Using Zod
Zod makes it simple to validate and normalize objects in JavaScript or TypeScript.
import { z } from "zod";

const CustomerSchema = z.object({
  id: z.string(),
  first_name: z.string(),
  last_name: z.string(),
  email: z.string().email(),
  created_at: z.string().datetime()
});

const hubspotData = {
  firstname: "John",
  lastname: "Doe",
  email: "john@example.com",
  createdAt: "2024-05-22T10:00:00Z"
};

function normalizeHubspot(data) {
  return {
    id: data.id || "",
    first_name: data.firstname,
    last_name: data.lastname,
    email: data.email,
    created_at: data.createdAt
  };
}

const normalized = CustomerSchema.parse(normalizeHubspot(hubspotData));
console.log(normalized);
This code transforms raw vendor data, validates it, and ensures it matches your unified schema.
Example in Python Using Pydantic
In Python, Pydantic is a great choice for enforcing data types and normalizing input.
from pydantic import BaseModel, EmailStr
from datetime import datetime

class Customer(BaseModel):
    id: str
    first_name: str
    last_name: str
    email: EmailStr
    created_at: datetime

def normalize_salesforce(data):
    return {
        "id": data.get("Id", ""),
        "first_name": data.get("FirstName"),
        "last_name": data.get("LastName"),
        "email": data.get("Email"),
        "created_at": data.get("CreatedDate")
    }

raw_data = {
    "Id": "123",
    "FirstName": "John",
    "LastName": "Doe",
    "Email": "john@example.com",
    "CreatedDate": "2024-05-22T10:00:00Z"
}

normalized = Customer(**normalize_salesforce(raw_data))
print(normalized.dict())
Pydantic handles validation automatically and raises clear errors if a field is missing or invalid.
Recommended Libraries
For Node.js
- Zod for schema validation
- Yup for validation and transformation
- class-transformer for object mapping
For Python
- Pydantic for strict type validation
- Marshmallow for serialization
- Dataclasses for lightweight transformations
These tools make data normalization easier, safer, and more testable.
Handling Common Issues
Missing fields
Not all vendors provide the same fields. Use defaults or mark optional fields in your schema.
Different date formats
Convert all timestamps to ISO 8601.
Nested data
Flatten or create sub-models for nested objects like address or company.
Performance
If you normalize large data sets, use async workers or background jobs.
Schema updates
Version your schemas to maintain compatibility when fields change.
Directory Example
Keep your normalization logic separate and organized.
/normalization
 ├── schemas/
 │   ├── customer.py
 │   ├── invoice.py
 │   └── employee.py
 ├── mappers/
 │   ├── salesforce_mapper.py
 │   ├── hubspot_mapper.py
 │   └── gusto_mapper.py
 └── validator.py
This makes it easy to maintain and test each part independently.
Where Normalization Fits in Your Architecture
In a unified API, normalization happens after data retrieval but before it is stored or returned to the client.
[Vendor APIs] → [Connectors] → [Normalization Layer] → [Unified API] → [Client]
It sits between connectors and responses, ensuring your unified API stays consistent regardless of vendor differences.
For the full picture of where this layer belongs, see How to Build a Scalable Unified API Layer for Your SaaS.
Benefits Recap
- Unified and predictable data structure
- Simpler testing and automation
- Easier analytics and reporting
- Faster development for new integrations
- Consistent validation for all vendors
Summary
Data normalization is what keeps your unified API clean and predictable. It takes the messy, inconsistent data from external systems and turns it into one simple model that your clients and internal systems can trust.
It also makes your integrations easier to test. Instead of testing every vendor separately, you validate that your normalized data always matches the same schema. This improves quality, speeds up releases, and gives your customers a consistent experience.
Start by defining a standard schema, then use libraries like Pydantic or Zod to enforce and test it. With a clear normalization layer in place, your unified API will stay stable, easy to maintain, and ready to scale.
For more on designing a full architecture around this, read How to Build a Scalable Unified API Layer for Your SaaS.
And for other guides about unified APIs, data consistency, and SaaS integration design, visit API Parser.